I admit it. I was bored.
I got on pinterest. I’m Hashtag: Sorrynotsorry.
I searched for cute holiday outfits.
Found this. (On a link that doesn’t actually work so I went to google image)

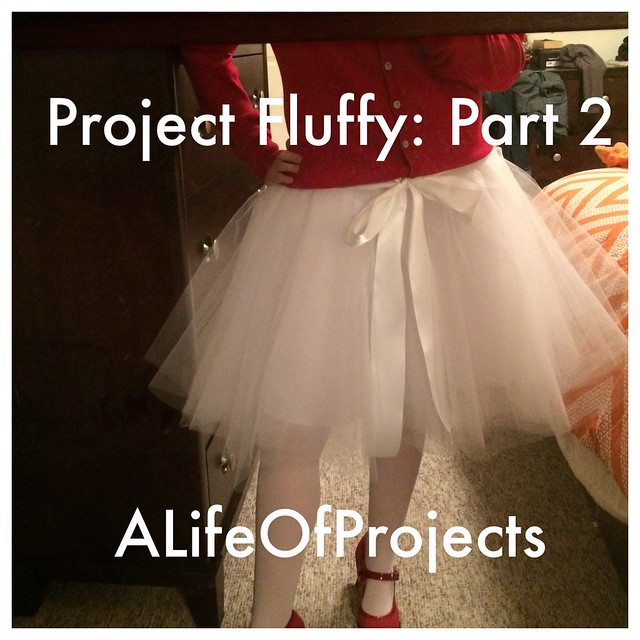
So now I have to make a fluffy tulle skirt, right?!?! Because $80 for one on Etsy? Ummm. I love you and all, Ets, but…I’ve got a sewing machine. I got this. There has to be a tutorial, right? Of course.
*10 hour break of pinterest searching distraction*
So I found the following 2 tutorials that didn’t seem impossible at first glance. (That phrase “at first glance” will be key later…)
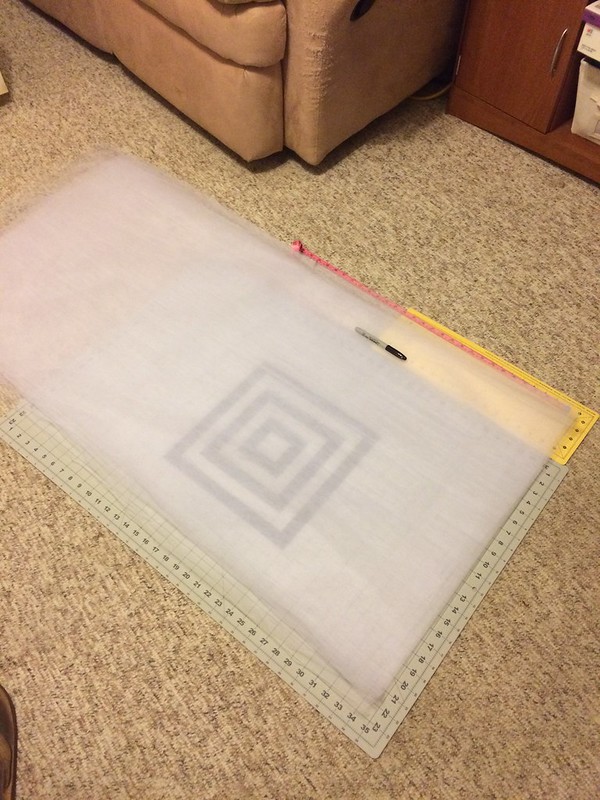
Ok, well one of those takes math. And…no. I mean I do stats for my real-time job…love some stats…but you want me to use pi? Radius? What? Ok fine, I’ll do it, just to make my 9th grade math teacher proud. (WHAT UP MR. L?!?! You’re still my favorite.)
So after some math, I determined I needed to cut folded pieces of tulle in to 52in sections….because you guys know I’d already gone to Jo-Ann’s for tulle and supplies BEFORE actually figuring out what I needed, right!?!? Right!! AND I went on a Sunday. AND it took way longer than it should have. And I came home with…more than just the materials for this project but more on that in later posts.
Ok. So we are home. With 10 yards of tulle. And some other project things…and a cat who thinks it’s all his
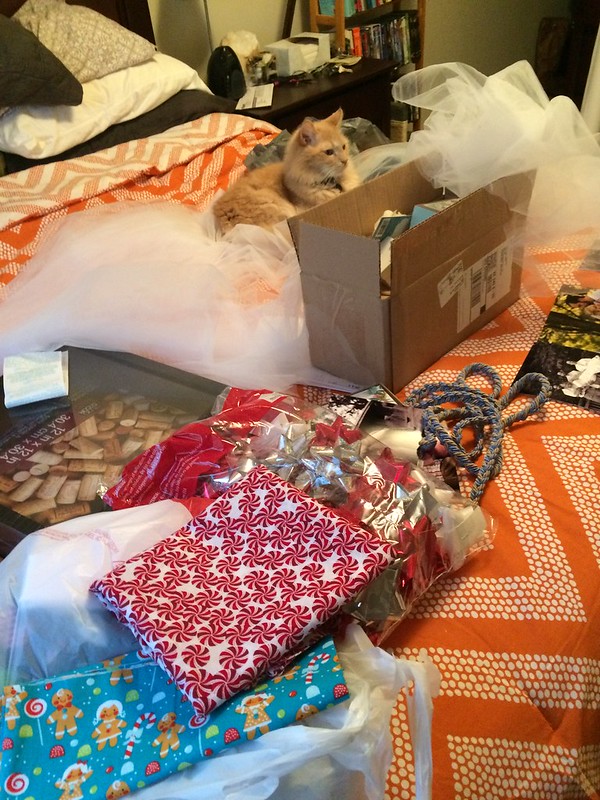
Ok so maybe I bought enough stuff for like 5 projects…whatevs.
Yeah. So now I do some math….had a friend write things down as I measured myself. Looked over the tutorials again to see which one would make me the least insane…and got down to cutting.
Here’s a little tip: In these tutorials, they make it seem so nice and easy, and maybe it is! For…people who sew more than 3 times a year or something. So here are the things they don’t tell you:
- Tulle? That’s a wrinkly piece of work. It does NOT want to be nice, neat stacks/folds/sheets.
- So then you google how to iron it without melting it all.
- And you try that and give up in about 10 seconds because putting the iron on the lowest setting on top of a towel…results in basically a low setting heating pad. That’s not getting wrinkles out of anything. If it did, my abdomen would be TIGHT, y’all.
- So, lesson learned: Tulle = Impossible to get flat. Just give up on that dream now. (UNLESS YOU KNOW THE SECRET, IN WHICH CASE, TELL ME NOW!!)
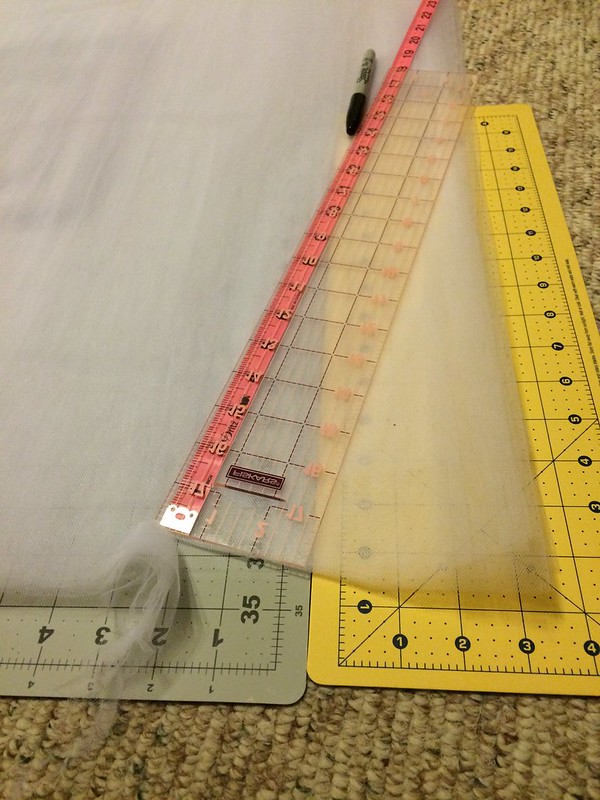
- My arms aren’t long enough. I’m a short girl. I can’t hold the measuring tape at the center AND swivel it around.
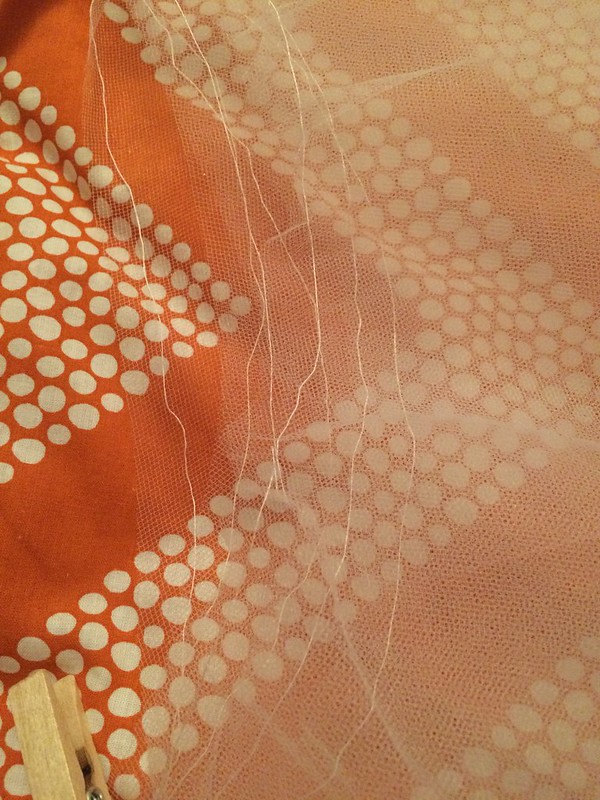
- Um…no one defines “Gather” the tulle. I’m still not sure I’m doing this part right…but that’s ok.
- Gathering tulle to the size of your waist…THEN getting it over your hips…um…yeah ok. Anyone want to guess how many times I broke the thread?
- TULLE IS HATEFUL AND WON’T LAY FLAT.
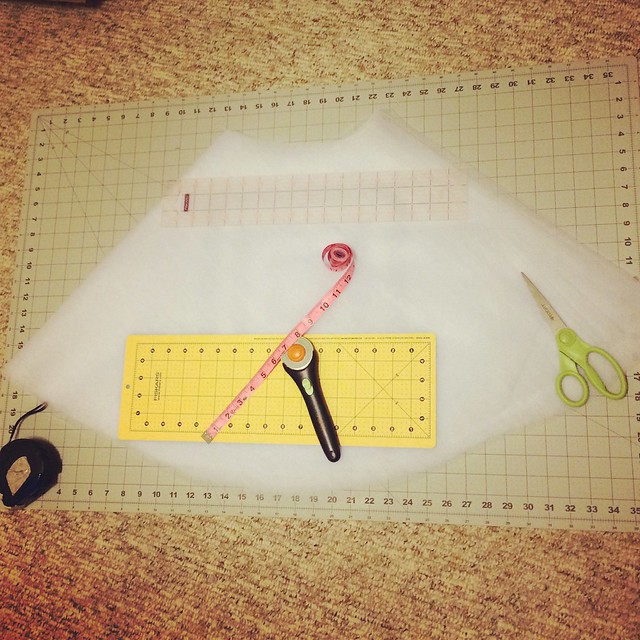
Ok, so the stacks are all cut. Now…I need the world’s largest compass (Yo, Mr. L….do you have any compasses that can do 2 feet radi…radius…radusi? What’s the plural of radius??? Hashtag: Notanenglishormathmajor) which turned in to me trying for about 30 seconds to do it myself
Then I went to fetch the hubs and made him hold at the center while I crawled around with sharp objects.
Semi-circles. YES.

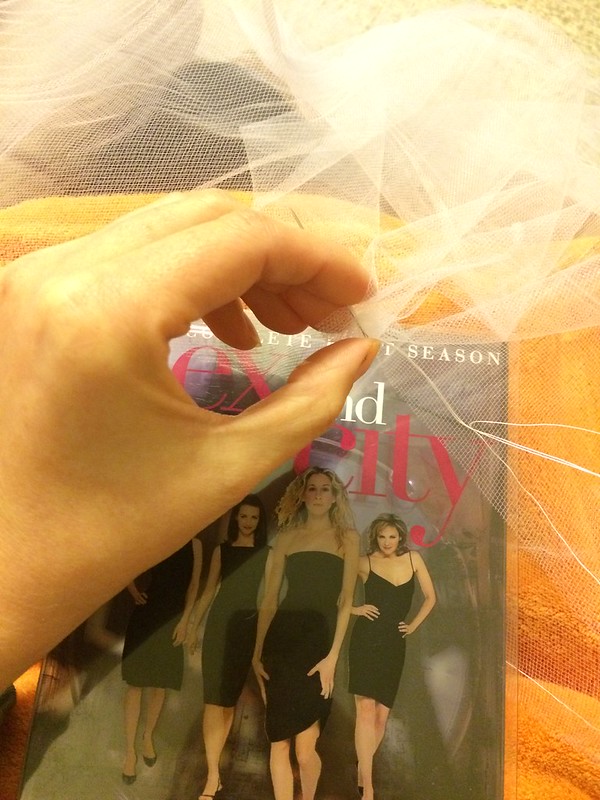
Weeelll….now this gathering thing. The tutorials didn’t really add instructions for that…so I tried it by hand. I’m honestly scared of putting this stuff in my sewing machine…and she didn’t say if she did it via machine or hand so let’s just sit, watch Sex & the City and make a Carrie-ish skirt.
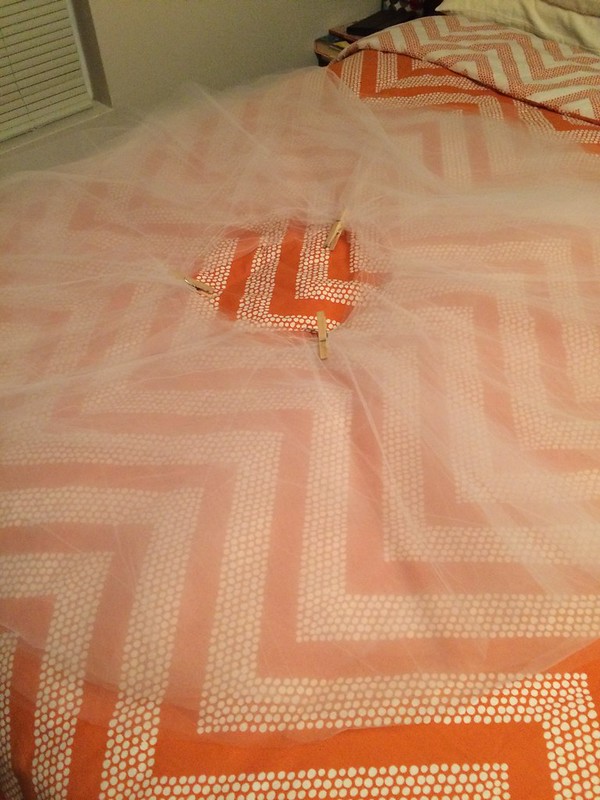
Once that’s done I had to put these lovely circles in skirt-like layers. With the gathers. All together. And of COURSE none of them are gathered to the same size, and then some have threads that have broken trying to get them over my hips…so that’s nearly impossible. I used clothespins to try and stabilize it a bit but it still wasn’t perfect. Tulle is hateful. I had a friend tell me that she used to make tutu’s all the time and this was so easy. I’m going to have to punch her later…
No really…lining this up was insane.
Then the elastic band, easy enough as I’ve made skirts in the past. But wait…my elastic bands are usually INSIDE the skirt so it doesn’t matter how shoddily I stitch them together. I did mine like this
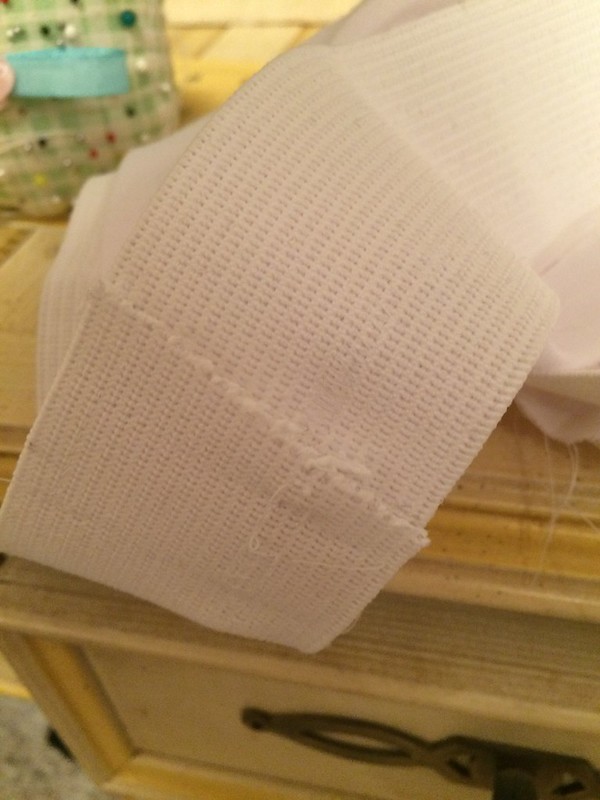
I just kind of sewed it, one layer on top of the other…then maybe fabric glued a little. But you’ll never tell, right!?!
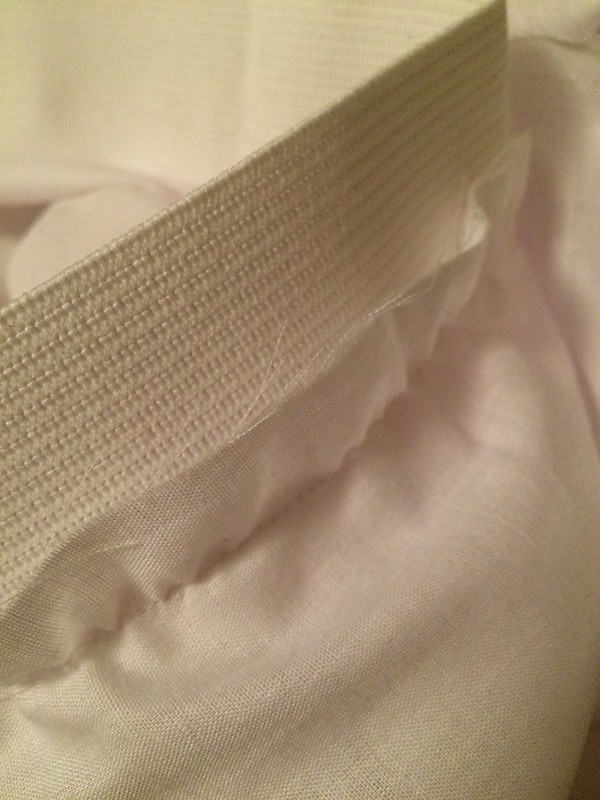
Former Perfectionist Tip:
I wish I had sewn it more like 2 pieces of fabric, with a seam on the inside…but that may have proven itchy/annoying so I’m going with it.
For the lining I had some decent cotton from the garment section of the fabric store. I cut that to fit my waist, then angled it down to make a fuller skirt to match the tulle. Then once I had sewn it in to a skirt-like object and hemmed it to a length that would hopefully hide under the tulle, I tried to figure out how she attached it to the elastic. Something about wrong-to-wrong then flipping then the tulle then more flipping and sewing?
Former Perfectionist Tip:
This portion involved a lot of curses and yelling “WHAT?!?” at the computer. Finally, I grabbed the lining, some pins, and a tissue (it was clean. I think). I pinned the lining on how I thought she was doing it, then pretended the tissue was the tulle, and after several bouts of flipping, pinning, cursing, and questioning I managed to figure out something close to how she had done it.
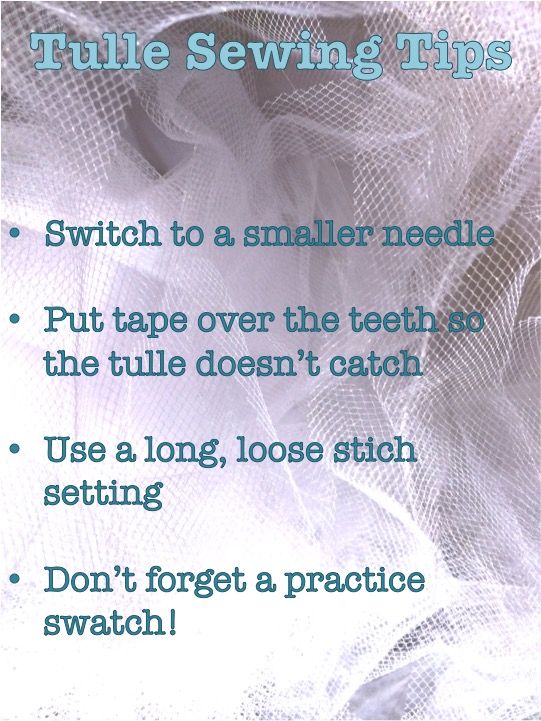
So at this point…I gave up. I’m not quite brave enough to sew the tulle yet (just because I’m a former perfectionist doesn’t mean I’m just throwing caution and my new sewing machine to the wind, ok people?) without reading up on it some. I’m going to practice on scraps…then do the real deal. Then I’m going to make a hand-dandy pinable of tips on tulle sewing for you guys!
So stay tuned!!